How to Inflate Road Bike Tyres in Cold UK Weather
A practical winter routine for checking and inflating road bike tyres in cold, wet UK conditions without guessing at pressure or exceeding tyre and rim limits.
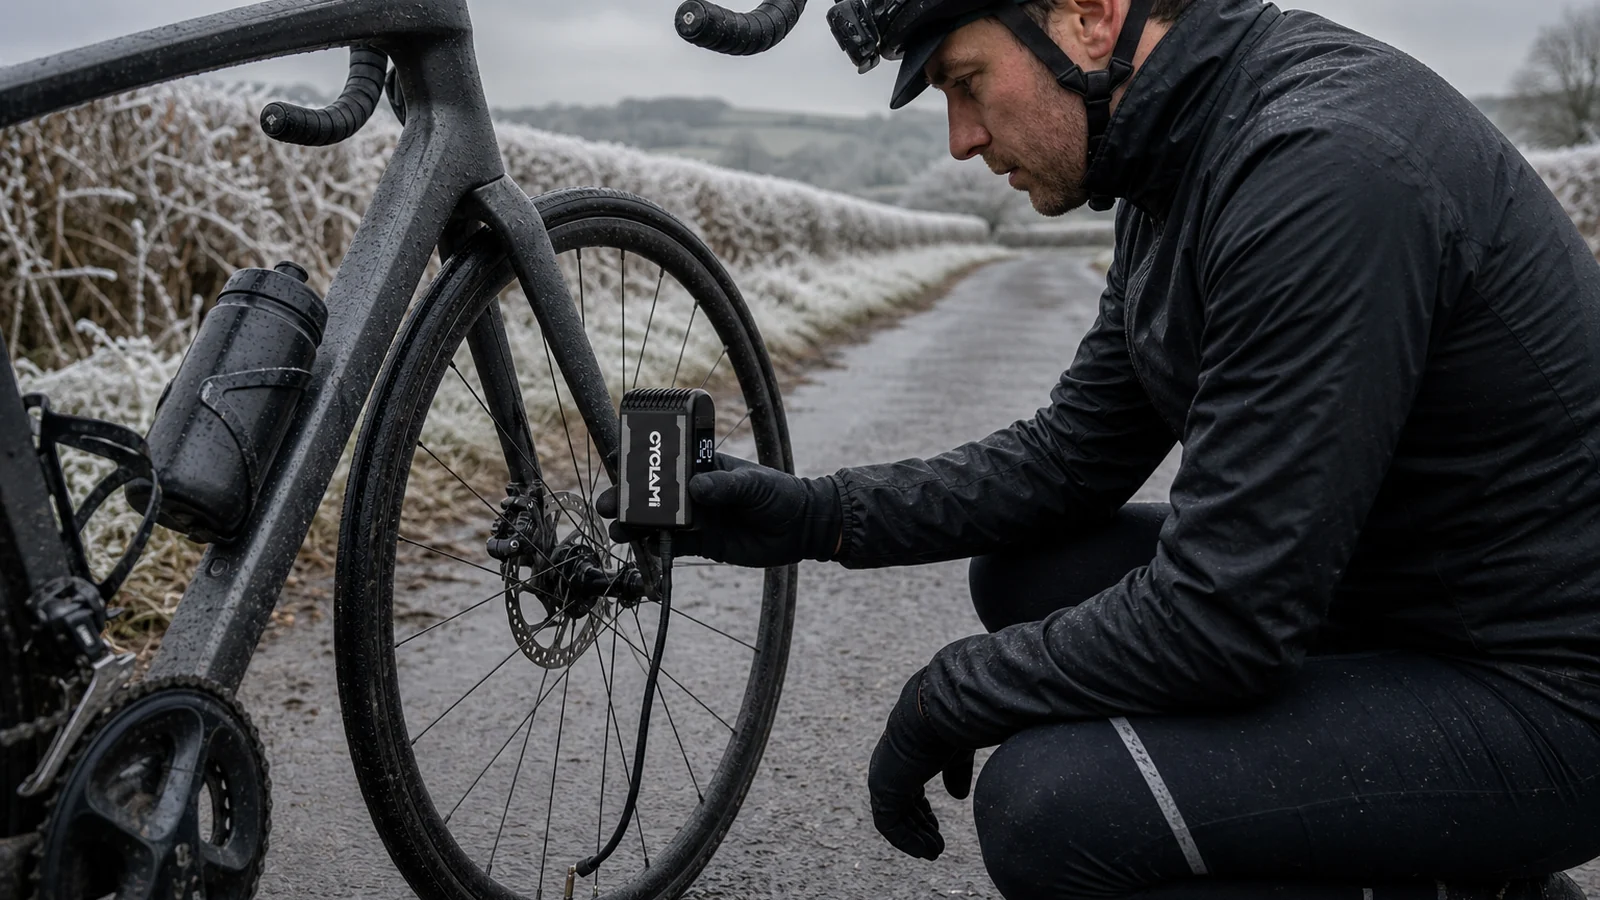
A road bike tyre that felt right in a warm hallway can read lower after the bike has stood outside on a frosty morning. That does not automatically mean it has a puncture, and it does not mean every winter ride needs the same extra number of PSI. The useful response is a repeatable check: establish a sensible baseline for your bike, measure in consistent conditions, recheck after the tyres have cooled, and investigate any loss that is larger or persists.
British Cycling identifies tyre pressure as a balance between rolling resistance, grip, comfort, puncture resistance and speed. Too much pressure can make a bike harsh and less composed on imperfect surfaces; too little can increase drag and the risk of impact or pinch damage. Cold, wet UK roads make that balance more noticeable, but the safe range is still controlled by the limits and guidance supplied with your tyre and rim.
Start with the limits, not a winter formula
Before touching the pump, read the pressure information on the tyre sidewall and check the wheel or rim manufacturer’s instructions. If the two specify different maximum pressures, the lower applicable limit controls. Tubeless-compatible rims may have pressure limits that depend on tyre width, and hookless systems require particular care. Never exceed a stated limit to compensate for cold weather.
There is no responsible universal answer such as “add a fixed number of PSI for every degree below room temperature”. When the air in a sealed tyre cools, its gauge pressure generally falls; when it warms, it rises. The size of the reading change in real use also depends on the starting pressure, the temperatures involved, tyre volume, whether air escaped while connecting the gauge, and the consistency of the measuring tool.
Treat temperature as a reason to recheck, not as permission to calculate beyond the manufacturer’s range. Your own recorded baseline is more useful than an internet formula.
Build a warm baseline for your bike
Choose a normal indoor location where the bike, tyres and gauge have had time to settle. Use the same reliable gauge whenever possible. British Cycling recommends checking with a pressure gauge rather than relying on a thumb squeeze; a track pump gauge is practical, while a separate digital gauge can make repeated readings easier to compare.
Record these details:
- front and rear pressure;
- tyre make, model and measured width;
- tube type or tubeless setup;
- rider and usual luggage load;
- the surface and weather the setting suits;
- which gauge was used.
The front and rear do not have to match. The rear wheel often carries more load, but the correct split depends on the bike, rider position and luggage. Start from the tyre and wheel guidance, then make small, controlled adjustments based on grip, comfort and stability. Do not copy another rider’s pressure simply because their tyre has the same number printed on its sidewall.
This warm baseline is a reference, not a command to pump the cold tyre back to the exact indoor number in every setting. Its purpose is to help you recognise what changed.
A practical cold-morning inflation routine
Allow a few extra minutes before a winter ride. Rushing a valve connection in the dark is an easy way to lose air or misread the gauge.
- Inspect both tyres. Rotate each wheel and look for cuts, embedded glass or flint, bulges, exposed casing and damaged sidewalls. Check that the tyre is seated evenly around the rim. On a tubeless setup, look for fresh sealant traces around the tread, valve and bead.
- Identify the valve and prepare it correctly. Remove the cap. On a Presta valve, unscrew the small tip and briefly press it to confirm it moves; do not remove the core by accident. If you are unsure which fitting you have, use the Presta or Schrader identification guide before attaching a pump.
- Measure before adding air. Take a reading with your usual gauge and note it. A baseline is only useful if you know the starting point.
- Connect squarely. Hold the pump head in line with the valve so you do not bend a Presta stem or disturb a removable valve core. A short hose can reduce strain on the valve.
- Inflate in small steps. Pause and recheck rather than racing towards a maximum. Stay within the tyre and rim limits, and use the pressure appropriate to your tyre width, load and road conditions.
- Disconnect cleanly and check again. A brief hiss from the pump head can be air leaving the hose, not necessarily the tyre. A second reading tells you whether the connection caused a meaningful change.
- Close the valve and refit the cap. On Presta, tighten the small tip finger-tight. Spin the wheel once more and confirm that the bead still looks even.
If you use a compact electric inflator at the roadside, the process and safety boundaries remain the same. The CYCLAMI A2S product page presents it as a rechargeable, gauge-equipped example; that attribution does not make its reading interchangeable with your home gauge. Compare the two before relying on it, keep the unit and battery dry, and follow its manual for charging, storage and operating conditions. Cold can affect rechargeable battery behaviour, while repeated inflation can generate heat, so do not infer performance beyond the published instructions and allow the device to cool if directed.
Recheck after the bike has cooled outside
For a useful winter comparison, put the bike in the conditions in which it will be ridden, then remeasure with the same gauge. You are looking for a pattern, not trying to prove a precise temperature equation.
A modest downward movement after cooling can be consistent with temperature change. If both tyres move in the same direction by a similar proportion and then stabilise, record the readings. Decide whether they remain appropriate for the ride while staying inside all tyre and rim limits.
A large, one-sided or continuing loss deserves inspection. Recheck the valve, listen and feel for leakage, and examine the tread and bead. For tubeless tyres, look for sealant at a puncture and check whether the valve core is loose or obstructed. If a tyre continues to lose pressure, do not keep topping it up and start a fast descent; repair the fault or fit a sound replacement first.
Consistency matters more than apparent precision. Different gauges can disagree, and attaching a gauge to a small-volume road tyre can release a little air. Use one gauge for your baseline and avoid repeated unnecessary measurements.
Adjust cautiously for wet roads
British Cycling notes that wet conditions may call for a slight reduction in pressure to improve traction. “Slight” is the important word. A lower pressure can enlarge the contact patch and soften the ride over broken winter tarmac, but dropping too far can make handling vague, increase rolling resistance and raise the risk of the tyre bottoming on the rim.
Change one variable at a time and make small adjustments within the approved range. Test on a familiar, low-risk route before committing to fast corners or long descents. Judge braking feel, cornering stability and comfort rather than chasing a soft sensation at the valve.
Tyre pressure cannot create grip where the surface has almost none. Painted lines, drain covers, diesel, wet leaves and ice remain hazards. Slow down, brake earlier and keep steering inputs smooth. On suspected ice, changing PSI is not a substitute for deciding whether the ride is safe.
Tube and tubeless details worth knowing
British Cycling recognises butyl, latex and TPU as common inner-tube materials. The material is relevant to maintenance, but this guide does not assign a made-up daily loss rate to any of them. Follow the tube manufacturer’s installation and inflation instructions, then learn the behaviour of your own setup with consistent readings. A persistent or sudden change still requires inspection, whatever the material.
With any inner tube, check that the rim tape covers the spoke holes and that the tube is not trapped beneath the bead. An underinflated tubed tyre is more vulnerable to pinch damage when it strikes a pothole or sharp edge.
Tubeless systems remove the inner tube but add other maintenance points: rim tape, valve, bead and sealant. British Cycling advises checking for dried sealant and blocked valve cores. In winter, inspect rather than assume. If the tyre will not hold pressure, find the leak and confirm the bead is safely seated instead of repeatedly using high-pressure bursts.
For rides where a compact backup matters, the portable electric bike pump guide explains what to verify before relying on one, while the bikepacking pump guide covers the value of a repair plan away from home. A pump restores pressure; it does not repair a damaged tyre, failed rim tape or leaking valve.
When to stop and investigate
Do not ride merely because the gauge reached the intended number. Stop and diagnose the setup if you find:
- repeated pressure loss after temperature and measurement conditions are stable;
- one tyre losing substantially more than the other;
- a cut, bulge, exposed casing or visibly uneven bead;
- sealant continuing to escape from one point;
- a valve that moves in the rim, leaks or will not close;
- unexplained rim impact, wobble or handling change.
After a repair, inflate gradually, inspect the bead on both sides and remeasure. If you are uncertain about tyre-rim compatibility or a stated pressure limit, consult the tyre or wheel manufacturer or a qualified cycle mechanic before riding.
The winter routine to remember
Set a documented warm baseline, use the same gauge, check the cold tyre before the ride, and treat a persistent loss as a fault rather than “just the weather”. Make only cautious wet-road adjustments within the tyre and rim guidance. That routine protects the things tyre pressure actually influences: grip, comfort, puncture resistance, efficiency and control.