Electric Bike Pumps: A Practical UK Buying Guide
Choose a portable electric bike pump by tyre task, pressure control, valve fit, battery, heat, support and backup needs, with a clear CYCLAMI A2S example.
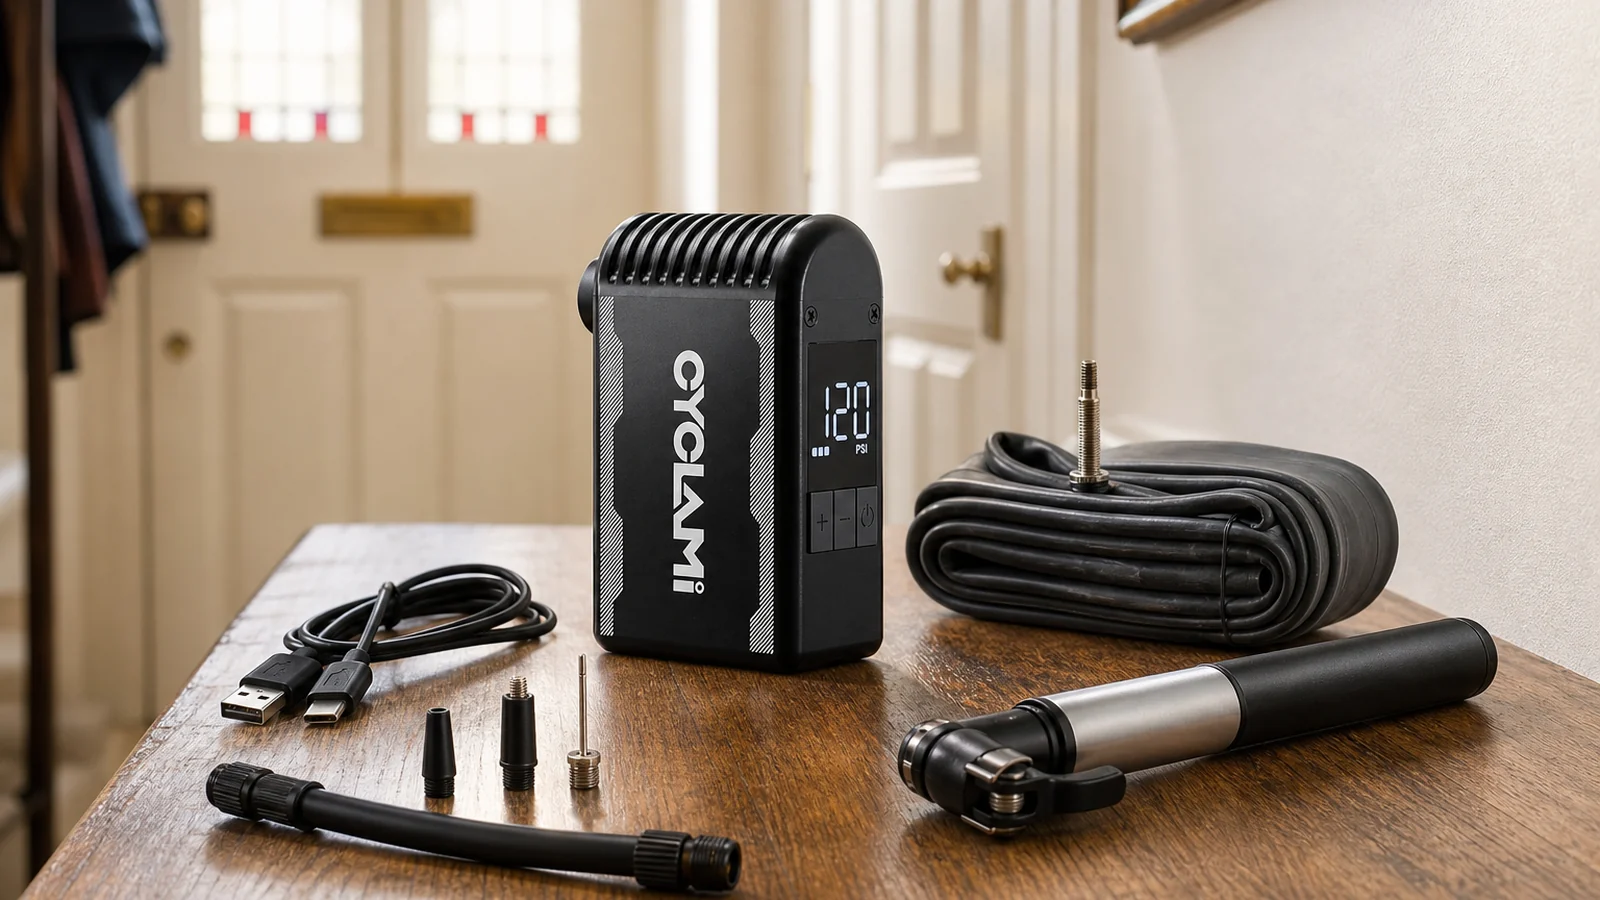
A portable electric bike pump can make a roadside repair less tiring and give a clearer pressure reading than a tiny manual pump. It cannot repair a puncture, guarantee enough battery for every tyre or replace sensible backup equipment. The right buying question is therefore not “which pump has the biggest PSI number?” It is “which pump can complete my real tyre task, with a safe fallback when conditions are poor?”
This guide is for UK commuters, club riders, new cyclists, households with several bikes and long-distance riders. It uses the CYCLAMI A2S as one documented example, while giving a method that works for any brand.
Start with the tyre task
Write down the wheel and tyre size, valve type, usual target pressure and likely starting pressure. A short top-up from 55 to 65 PSI is not the same job as filling a wide gravel tyre from empty after installing a tube. Maximum pressure tells you only the upper limit; it does not state how much air the pump moves before its battery or thermal limit is reached.
British Cycling notes that pressure affects grip, comfort, puncture resistance and efficiency. Your tyre and rim limits remain the hard boundary. A pump should help you reach a chosen safe pressure, not choose that pressure for you.
Useful questions for a seller include:
- What tyre size and start/finish pressures were used for each claimed inflation count?
- Does the test include cooling pauses?
- Is the published weight for the pump alone or the full carry kit?
- Which valve parts are included?
- Can the pump reach a deep rim valve without putting sideways load on it?
If those conditions are absent, treat a large inflation-count claim as incomplete.
Pressure, airflow and accuracy
Road cyclists may need relatively high pressure in a small volume. Gravel and mountain-bike riders often use lower pressure in a much larger volume. A 120 PSI road-capable pump can still be a poor fit for repeated large-volume inflation if its airflow, battery and cooling requirements are not suitable.
Look for a readable live pressure display, a preset target and auto-stop. Then check the stated measurement tolerance and compare the pump with a trusted gauge before depending on it. Gauge disagreement can come from calibration, connection loss and the small amount of air released when removing the head.
The manufacturer lists the CYCLAMI A2S with a 0-120 PSI range, 18 L/min airflow and automatic pressure control. Those published figures do not promise a particular result for every tyre. Match them to your own starting pressure and volume.
Valve fit comes before speed
UK bikes commonly use Presta or Schrader valves. Cycling UK recommends checking the tyre wall for size and the wheel for valve type, and describes dual-valve or smart-valve pumps as useful. Our Presta and Schrader guide shows how to identify and operate each one.
Check whether the pump connects directly, needs an adapter or uses an extension hose. A hose can help with deep rims and reduce strain, but another joint is also another place where air may leak. Test the complete connection at home with the exact wheels you ride.
Do not force a head onto a valve. Do not drill a rim to accept a different valve without professional advice from the rim or wheel manufacturer. If a Presta core is removable, make sure it has not loosened when an adapter is removed.
Battery and charging
The CYCLAMI manufacturer specification lists 2 x 500 mAh battery capacity, USB-C charging, dimensions of 73.6 x 45 x 28.6 mm and a weight of about 136 g. The cyclami.co.uk product page captured on 15 August 2026 additionally displayed 7.4 V, a 45-minute charge time and 136 g as pump-only weight. Treat those as dated retail-page fields and recheck them before purchase; neither source supports inventing a number of roadside inflations.
Battery care is part of ride preparation:
- Charge with the method and input specified in the manual.
- Confirm the display and controls before leaving.
- Recheck stored equipment periodically.
- Protect the pump from impact and unintended activation.
- Stop using a battery that is swollen, damaged, leaking or unusually hot.
A USB-C port does not mean every charger, cable or fast-charge mode is suitable. Follow the product instructions.
Heat and duty cycle
Compressing air creates heat, and compact pumps have little surface area through which to shed it. The outlet, hose and valve connection may become hot. Use the supplied insulation, observe the manual’s run and cooling limits, and avoid immediate skin contact with hot metal.
Heat also makes repeated inflations a different workload from one top-up. If a claim does not state pauses, ambient temperature and tyre size, it should not be used as a guarantee. Stop if the pump gives a warning, loses output, smells abnormal or becomes damaged.
Wet weather is not a waterproof claim
UK riding means rain, road spray and wet verges. A pouch can help keep a pump and its adapters clean, but “useful on wet rides” is not the same as a certified waterproof rating. Unless the exact device carries a documented ingress-protection rating and instructions, keep it out of standing water, dry the connection area and do not charge it while wet.
Cold weather also changes tyre pressure and can affect how a battery-powered device feels in use. Set pressure using a consistent method and inspect unexpected losses instead of blaming every change on temperature. See our cold-weather tyre guide.
What to carry with it
An inflator supplies air; it does not remove a wheel, find a puncture or repair a damaged tyre. A sensible kit may include tyre levers, the correct spare tube or tubeless repair, patches, a tyre boot and the tools required by your bike.
For a supported commute, an electric pump may be the convenient primary inflator. For an audax, remote gravel route or multi-day trip, carry a manual mini pump as the final fallback. It works after a flat battery and lets you continue cautiously when a connector or display fails. Our bikepacking guide builds a full redundancy plan.
Compare the complete cost
Use the delivered price including VAT, not a headline price without shipping. Add any necessary hose, valve adapter, case or charger. Check who handles a UK return, how long the warranty lasts and whether replacement parts are available.
Compare that complete system with CO2 cartridges and a manual pump over the number of incidents you realistically expect. Electricity has a cost, cartridges are consumable and batteries do not last forever. The electric pump versus CO2 cost guide gives a transparent calculation.
A five-minute pre-ride check
- Read the tyre and rim pressure limits.
- Identify the valve and fit the complete pump connection.
- Confirm the pump is charged and the target unit is PSI or bar as intended.
- Carry the parts needed to repair a puncture before reinflating, and match them to the wheel.
- Pack a manual fallback when delay or isolation matters.
An electric pump is most valuable when it is treated as one component of a repair system. Define the tyre task, verify the connection, respect heat and battery limits, and buy from a seller whose specifications, returns and support can be checked.